

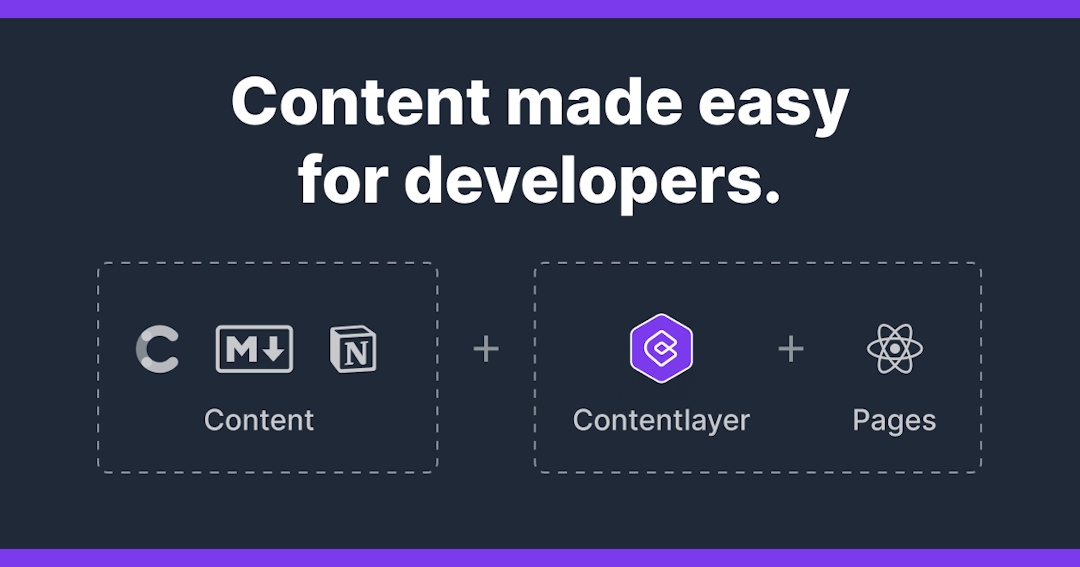
Contentlayer is a content SDK that validates and transforms your content into type-safe JSON data you can easily import into your application.
So that's what Contentlayer is. It gives you type safety for your data, and makes the data available across the application.
To get started with Contentlayer, you can follow this guide. It is a minimal Next.js & Contentlayer starter that comes configured with MDX support, code highlighting, and Tailwind CSS. Here's a demo web-app built with it.
Getting Started
Clone this repository and install all dependencies
git clone https://github.com/achntj/contentlayer-next-mdx-starter/ my-blog
npm i
That's it! To create new posts, head over to the content/blog folder and create new MDX files. The name of the file is used for generating the slug while the frontmatter is used for adding the date, title, and description.
Using custom components
To use your own components in your MDX files, import them to the pages/blog/[slug].tsx page, and add them to the MDXcomponents variable. To give custom name aliases to these components use the following syntax -
import Image from "next/image";

const MDXcomponents = {
  // Pass Custom Components here (for use in markdown files)
  img: Image,
};
See more in the Contentlayer docs
Custom Page Types
To create other page types, define them in the contentlayer.config.ts file, just like it is done for the Post type. Create a corresponding index and slug page for the type in the pages directory to be able to view it.
That's all! Check out the github repo for this starter, and give it a star if you like it. And don't forget to check out Contentlayer!